2024-12-09 18:31:49|Myriagame |source:minecraft skins
This tutorial is set by the author to use the CC By-NC-SA protocol.
The TFC: TNG version used in this tutorial is 1.7.21.179 (MC1.12.2).
How to use the support beam:
Right -click the handheld support beam to the ground to place 3 (if less than 3 are placed), and press the shift key+right -click to fix 1.If you right -click on other vertical support beams, you will check whether the four directions of the horizontal plane can form a vertical support beam that can form a horizontal support beam (these two vertical support beams are 1 ≤ x ≤ 5).The horizontal support beam is formed.Press Shift Right -click on other vertical support beams, and place it on this support beam. For this supporting beam, you can place up to 5 support beams on it.For each support beam, 5 can be placed through Shift+right -click, but there is no overall height limit. You can place it from y = 1 to y = 255.
The characteristics of the support beam:
Only the horizontal support beam has supporting capabilities.
The range of 9*9*3 centered on this horizontal support beam is not affected by gravity, as shown in the figure below:
The part of the red brush above the Xuanwu Rock in the figure shows the horizontal support beam and has support capabilities.You can see that granite Sand has not fallen.In the picture, the Citibanatus workbench is only used to facilitate counting.
Note:
The falling square will break the vertical support beam and the horizontal support beam, as shown in the figure below:
In the picture, the white cloud rock round stone is used to test, placed on the left side of the white wool, and will immediately fall to the kapok wood board below, and then slide it. There is a probability that it will directly slide to the vertical support beam. At this timeFunction, as shown in groups in the figure.To prevent slipping.You can add 1 horizontal support beam where the support beam is 3, as shown in groups.The same is true for higher support beam frameworks, as shown in group ①②.When the square falls to the red wool as shown in the figure, the support beam will also be destroyed, so you usually need to add 1 layer of blocks above. You can choose a square that is not affected by gravity, such as the red wool and white wool shown in the figure.In the picture, the Citibanatus workbench is only used to facilitate counting.
Plane extension method:
Taking the vertical downward mining method as an example.Digging down with the size of 1*3 (you can choose 1*1, but there are risks), as shown in the figure below:
First set up a horizontal support pillar in the number of layers that need to be mining, as shown in the ① of the figure.Then select the direction that needs to be extended for plane mining (note that do not exceed the support range of the horizontal support beam) and set up the ② part as shown in the figure.Then dig more and set up the ③ part as shown in the figure (note: the ③ part of the ③ part of the horizontal support beam in the figure does not reach the maximum length of 5 grids).Extend to part of the side and can be removed.
When removing, pay attention to the appearance of the support beam, as shown in the figure below:
The ① part of the connection in the figure indicates that the upper is vertical support beam.When dismantling, the horizontal support beam above will be destroyed.
The ② part of the ② in the figure is not connected, indicating that the horizontal support beam is above.When dismantling, the horizontal support beam above will not be destroyed.
Then extend to the required position, and excavate in the plane, as shown in the figure below:
Part of the ① part and the ② part in the figure reaches a maximum length of 5 square meters.In the picture, the Citibanatus workbench is only used to facilitate counting.
It should be noted that the ④ part in the figure is 4 squares, that is, the maximum value of the horizontal direction of the horizontal support beam. If it is excavated to exceed this range, it may cause the collapse.
Then extend and clean up to complete the extension of the plane.As shown in the figure below:
In the picture, the Citibanatus workbench is only used to facilitate counting.
Extend the support pillar upward:
After selecting a position, it extends upwards according to the stepped.First excavate the three squares above, and then place two square blocks to place the support beam.Because the collapse will occur, first dig first and then place it.As shown in the figure below:
In the figure, the red wool indicates the dangerous area, and the area shown in the red wool is excavated. The falling square will destroy the support beam.The picture on the right is a collapse, and the unprocessed basalt in the top of the top becomes a basalt.
Since the upper becomes an air square, the square needs to be placed to prevent the support beam from being destroyed when extending, and then continue to extend.After the specified height, then extend in the horizontal direction, as shown in the figure below:
The ① kapok board in the figure indicates the block where the support beam is destroyed.
So far the entire process is completed.

National Service DNF Dark Ni
2025-01-28 09:19:27
The new screenshot of the be
2025-01-28 09:18:57
The 15th anniversary wallpap
2025-01-28 09:18:27
3DM Xuanyuan Sinicization Gr
2025-01-28 09:17:57
French magazine is the first
2025-01-28 09:17:27
The sneak game "Republic" wi
2025-01-28 09:16:57
The story between humans and
2025-01-28 09:16:27
Capture "Trinity 3: Artifact
2025-01-28 09:15:27
Wind direction change "Myste
2025-01-28 09:14:57
DICE's new project "Dream" w
2025-01-28 09:14:27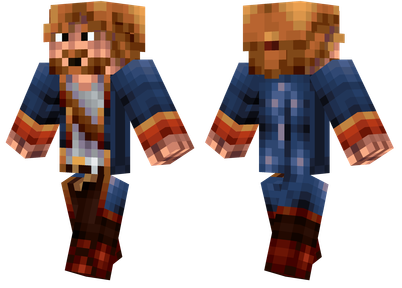
Pirate Minecraft Skins
Minecraft Skins
2024-12-10 04:11:27
Pirate Minecraft Skins
Minecraft Skins
2024-12-10 04:11:26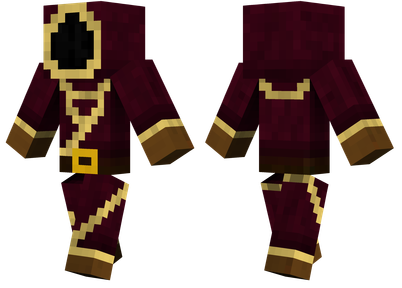
Master Minecraft Skins
Minecraft Skins
2024-12-10 04:11:25
King Minecraft Skins
Minecraft Skins
2024-12-10 04:11:25
Guide Minecraft Skins
Minecraft Skins
2024-12-10 04:11:24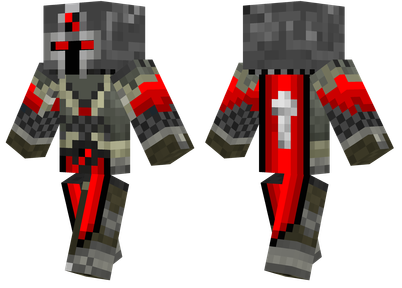
Dark Knight Minecraft Skins
Minecraft Skins
2024-12-10 04:11:23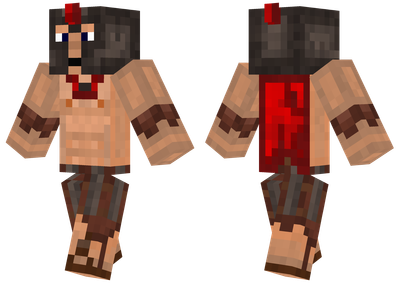
Sparta Minecraft Skins
Minecraft Skins
2024-12-10 04:11:23
Moncraft Skins of the War
Minecraft Skins
2024-12-10 04:11:22
Red Witch Minecraft Skins
Minecraft Skins
2024-12-10 04:11:22
Golden Cavaliers Minecraft S
Minecraft Skins
2024-12-10 04:11:22