2024-12-17 06:00:36|Myriagame |source:minecraft skins
Author: Terratea
Want to know how to make higher and better terrain in Minecraft?Let's take a look at this WorldMachine basic use tutorial.
Chapter Zero, I am WM World Machine, Have you learned?
#0-0 preface
The equatorial Guinea is carried out, Jiezi Zi said:
This tutorial is completely produced for the Minecraft terrain of the WorldMachine+WorldPainter process, and the content is very basic. It is suitable for the topographic reader reading of more real terrain.Before reading this tutorial, you need basic computer common sense.Geographical knowledge is not necessary, but understanding of natural geographical basic knowledge helps to produce the terrain.After learning this tutorial, it is recommended to learn the advancement of other people's projects instead of continuing to rely on various tutorials.
Different terrain is different from other fields. The terrain can hardly get rid of the car from closed doors.You need to calm down and communicate with others in the terrain circle. Therefore, you must understand the wisdom of questioning and how to get along with others.Double standards and extending behaviors cannot solve any problems, and it will make you a joy.
The history of the terrain circle is quite long. The translation names given by this post are all formed in the long -term development process of the terrain circle. Those who rarely use translation professional terms have not given translations., So as not to cause communication difficulties.Some descriptions in this article may be extremely inaccurate or even wrong. The purpose is to facilitate understanding. In many cases, we do not need to be too accurate language. After all, we are targeting Minecraft terrain production.
As for why I write this tutorial, although the terrain circle has always opposed the behavior of reaching out, this does not prevent people from being a lazy dog.Although many people have done the WorldMachine tutorial, most of them are video tutorials, and only a few graphic tutorials are almost all abandoned.As a senior lazy dog, I carried out a rotten swing. After a long time in the pit, I have been a pure WP terrain, and then I gradually started using WM.However, the limitations of WP are still very high, and it is difficult to make extremely real effects. Therefore, if you want to enter the pit, WM learning is necessary.I believe there must be the same lazy dog as me, so I wrote this lazy dog tutorial.This tutorial is not very long. The number statistics show that it takes only 30 minutes to read it, but it can be understood by opening WM while reading.
#0-1 download and installation
World Machine is a powerful terrain modeling software, the official website address https://www.world-machine.com/.At present, the price is free, independent developer 199 US dollars, a professional version of 299 US dollars, and a studio version of 1999 US dollars.The community version is high and it is not recommended. This article does not provide a direct cracked version download address.You can search for websites such as Miaomiwu and other websites.It is also recommended to use the version of Huadai Sinicization with a group number 854909057.The version of this post is V4031 Professional English original version.To ensure smooth understanding of this article, V4031 is recommended.After installation, if you encounter problems related to launch failure, you can refer to the WM startup problem processing document (see appendix in this article).
#0-2 operation logic
The operation logic of WM is the operation of the node. The general terrain production process is the shape -adjustment -naturalization -coloring.Only one brief introduction here, the WM process will focus on the first chapter.Generally called WM nodes as modules.WM's module has different effects, but the basic structure is the same.
Taking the module in the figure as an example, the left side is the input end, the right side is the output end, the data interface is above (the 4027 version is no longer actively displayed), and the mask interface below.Simply put, the contents connected to the left are transmitted to the right after the module is processed. This is the working principle of the module.
It should be noted that the module name will also light up the indicator light on the left side of the name. The blue green represents normal work. The yellow -green indicates that it has not yet been constructed. The blue indicates that it has been built but the content has been deleted.WM work abnormal.

#0-3 basic operation
Before the beginning, simply divide the WM interface in the area for easy introduction.

Module bar: There is nothing to say where the module is taken.
Preview area: The current module preview effect is displayed in the large frame. You can modify the following options to adjust the effects of light, water body, drawing, etc.
Module display area: will display every module you put.You can save your operation records in the historical column.Toolbar: In fact, each option with an icon is a more important option in the text tab. Here you only focus on the icon below.From left to right are new projects, open projects, open example projects (strongly recommended to read, help quickly get started), save, export pages, engineering settings page, WM settings page, random seeds, display/hidden sidebar, modification, modification, modificationWork layout, work page, layout interface, exploration page, 3D preview, 2D preview, build all modules, build current modules, and block block construction.
As for the window popped up by the right -click module, the translation of the Hua Kai Hanhua version is directly borrowed here. The related shortcut keys are also reflected and will not be repeated.
#0-4 size corresponding

The terrain circle generally believes that the proportion of Minecraft terrain to the WorldMachine map is generally the length of 1 square (1 meter in Minecraft) is equivalent to 10m in WM.According to this rule, the value of Width (or Breath) in the sub -tab in the project settings page should be set to X KM and 100X in the value of Width (or Breath) in the Width (or Breath).1K terrain refers to the terrain of 10.24km x 10.24km, and other sizes.For example, Width is 10.24km, Breamth is 10.24km, and Resolution is 1024 × 1024.This is the 1K terrain.If a non -square -sized terrain is required, you only need to modify the Square Aspect to Any Aspect Ratio.If your size is set correctly, the value of the Detail Scale should be 10.00m/pixel.The default terrain height of WM is 4km (400 blocks). You need to modify the value of Dimension Preference in the Project Setup tab to be modified to 2.56km (256 blocks) or 3.84km (384 blocks) as required.
Number: 1 2 3 4 5


National Service DNF Dark Ni
2025-01-28 09:19:27
The new screenshot of the be
2025-01-28 09:18:57
The 15th anniversary wallpap
2025-01-28 09:18:27
3DM Xuanyuan Sinicization Gr
2025-01-28 09:17:57
French magazine is the first
2025-01-28 09:17:27
The sneak game "Republic" wi
2025-01-28 09:16:57
The story between humans and
2025-01-28 09:16:27
Capture "Trinity 3: Artifact
2025-01-28 09:15:27
Wind direction change "Myste
2025-01-28 09:14:57
DICE's new project "Dream" w
2025-01-28 09:14:27
Pirate Minecraft Skins
Minecraft Skins
2024-12-10 04:11:27
Pirate Minecraft Skins
Minecraft Skins
2024-12-10 04:11:26
Master Minecraft Skins
Minecraft Skins
2024-12-10 04:11:25
King Minecraft Skins
Minecraft Skins
2024-12-10 04:11:25
Guide Minecraft Skins
Minecraft Skins
2024-12-10 04:11:24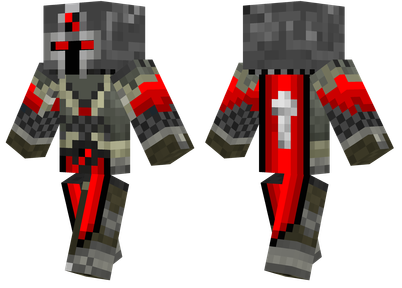
Dark Knight Minecraft Skins
Minecraft Skins
2024-12-10 04:11:23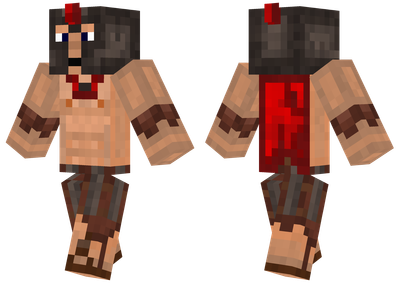
Sparta Minecraft Skins
Minecraft Skins
2024-12-10 04:11:23
Moncraft Skins of the War
Minecraft Skins
2024-12-10 04:11:22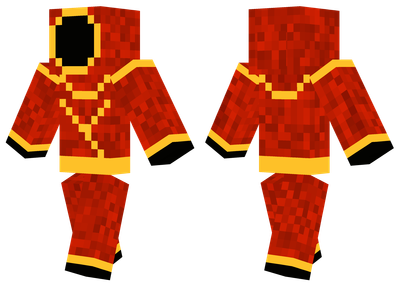
Red Witch Minecraft Skins
Minecraft Skins
2024-12-10 04:11:22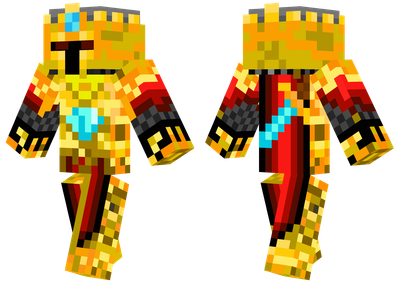
Golden Cavaliers Minecraft S
Minecraft Skins
2024-12-10 04:11:22