2024-12-10 17:45:06|Myriagame |source:minecraft skins
Multi -drawing warning
First of all, you need to know the necessity of building track
So many, namely: railway instrument panels, platform track connectors, side -line rail connector, any material (examples are diamond material) rail connector, orbital node.
2. Then, do not see the track when you see the orbit, because this is not possible.How can you put your track first.
First of all, two nodes should be placed, which are the beginning and end of the railway.(I don’t know why rendering errors ??? Let's see it alive)
Then use the rail connector to click on the beginning, and then the orbit will flash (as shown below)
Then use the rail connector that just clicked at the beginning to click the end
After that, they were together!
The road behind is still long, take it slowly.
3. Building a car factory (to be honest is to build a railway garage) ⚠ Important ⚠
You read it right, this is a car factory.Link a section of the "side -line rail connector" (which can be longer), which is a car factory.
Open the railway dashboard again
It should be like this.
Point machine "car factory"
If you see the small white block in the middle, then you are successful.
Point new car factory
Fragment the small white block and orbit
Give him a name and change the color (this step with you).
If the default SP1900 train appears, the car manufacturers will be successfully built.
If you want to change a car, turn on the railway instrument panel, order the car factory, and click on that small white block, this interface will appear
Click the selected vehicle button to choose the train.
I choose a London subway type 1996
Sloping down, find the London subway type 1996
Point the plus number after the London Metro 1996
It can be seen that the train has been replaced by the London subway type 1996.
So far, the car manufacturer has been built :)
A Reward two chicken legs
4. Next, let's build a station
Connect the two nodes with the platform rail connector to make a station.
The train depart from the car factory to the station, so the station inlet must be connected to the car factory
Use any material rail connector link (the picture shows the diamond rail connector) to connect.
Then open the railway dashboard and click the station button.
Create a station like creating a car factory.
There is also that small white block, which must be frame a small white square
If so, it means that you are right again.
You can build a few more and connect them with a rail connector.
Example: As shown in the figure, I built two stations
They are all connected.
So such a route is right
Negative textbook:
Two stations also built
But I have no link to them
So this is wrong
When you finish all stations and connect them together, then please connect the terminal to the car factory, that is, the route of returning to the factory.
Note: The return route should take different tracks, so the orbit of returning to the factory must be shorter than the rails of each station.
As shown in the figure, I connected the terminal back to the car factory. The final line should be a circular route.
5. route
The route is to tell the car to take which station first and then.
Open the railway dashboard.
Click on the route
Note: The method of creation of the route is different from the station or car manufacturer
Point a new route
Click the small white square of the first stop, and then click the second stop, the third stop ... At this time, the column on the left is the station that the car is going through.
Edit the name and color (as you) (as you)
It will be displayed afterwards
Click to complete, you can create the route.
6. Tell the route to the train
Car -order factory
Choose the car factory just now, click that little pencil
There will be such an interface
You can set the departure time (frequency) unit on the left hand.
You can adjust him to the highest (the fastest frequency).
Then there is a column on the right
Point edit instructions, add the route just now to the selected
Point completion
If the display path is not created
Then click the refresh route
If it is displayed here
Then you should be able to see that the car is moving
Then this tutorial is over here.I suggest that you can open a super flat first, and then play it with a practical practice.Otherwise, it is easy to occur
National Service DNF Dark Ni
2025-01-28 09:19:27
The new screenshot of the be
2025-01-28 09:18:57
The 15th anniversary wallpap
2025-01-28 09:18:27
3DM Xuanyuan Sinicization Gr
2025-01-28 09:17:57
French magazine is the first
2025-01-28 09:17:27
The sneak game "Republic" wi
2025-01-28 09:16:57
The story between humans and
2025-01-28 09:16:27
Capture "Trinity 3: Artifact
2025-01-28 09:15:27
Wind direction change "Myste
2025-01-28 09:14:57
DICE's new project "Dream" w
2025-01-28 09:14:27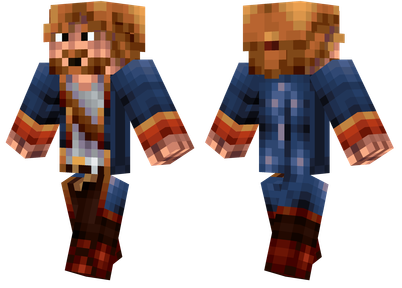
Pirate Minecraft Skins
Minecraft Skins
2024-12-10 04:11:27
Pirate Minecraft Skins
Minecraft Skins
2024-12-10 04:11:26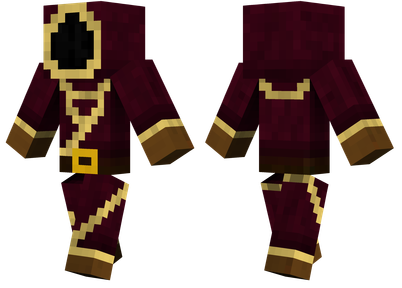
Master Minecraft Skins
Minecraft Skins
2024-12-10 04:11:25
King Minecraft Skins
Minecraft Skins
2024-12-10 04:11:25
Guide Minecraft Skins
Minecraft Skins
2024-12-10 04:11:24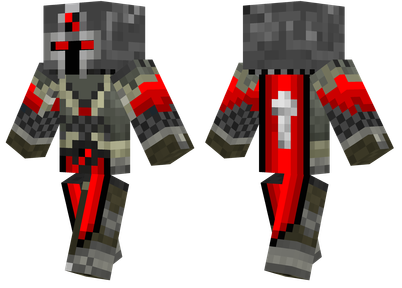
Dark Knight Minecraft Skins
Minecraft Skins
2024-12-10 04:11:23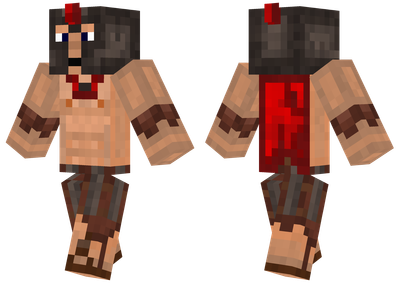
Sparta Minecraft Skins
Minecraft Skins
2024-12-10 04:11:23
Moncraft Skins of the War
Minecraft Skins
2024-12-10 04:11:22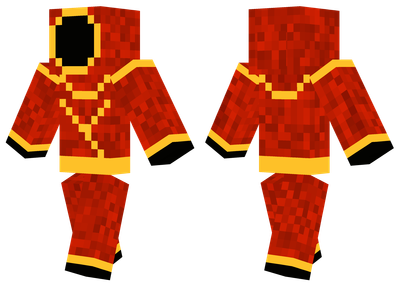
Red Witch Minecraft Skins
Minecraft Skins
2024-12-10 04:11:22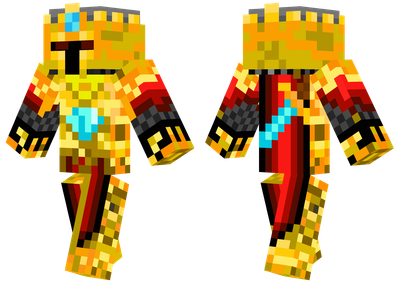
Golden Cavaliers Minecraft S
Minecraft Skins
2024-12-10 04:11:22