2024-12-10 17:50:02|Myriagame |source:minecraft skins
This tutorial is set by the author's setting without permission.
Hello everyone, I am the one who has no one to ask, and the traffic simulator tutorial has not been sent to the tutorial again.
First of all, take the electromagnet into a ring. (The first ring must be built using the basic electromagnet, otherwise it will not be activated. This picture is not yet seen before I saw this reminder.) Size customs (two types, transparent and simple, divided into six types, foundation, advanced, excellent). This introduction is based on the introduction.
Place the vacuum cavity above (two types, one is transparent, one is ordinary)
Take a circle of inner ring and outer ring
Upper ring
Place the cooler according to the icon method, and high -level cooler can also be used for low -level electromagnets.And electromagnets do not need to be full.It's just the problem of cooling time (the particle accelerator will not have any response before the electromagnet reaches the target temperature)
Ring completion effect
Next, put the accelerator's manipulator and close to the electromagnet.After the successful construction is successful, all the coolers will have the effect of rotating (in fact, it is to start cooling)
Reminder: Place the power first, otherwise he will not care about you
Let's go to the end first
Install the computer, please come to another tutorial on the people, the new version of the curvature drives part of the renewal tutorial
Instead of one of the electromagnets, and must be in the same way as the vacuum cavity in the connected direction
After setting the frequency, put the box within its effective contact range.Note that don't put things in the box first.
Next, the 12 of the cooler is replaced with a particle collision, the control node is placed on the top, the frequency is set, and a box is placed next to it.
Such a large -scale strong collision machine is completed, and then the tutorial is used.
After entering 1 to enter the operation interface, you will see the following interface
Press S to turn on the colliers
Press P to stop the hitter
Press ↑ ↓ key Select parameter settings
Press E allows/disable parameters
Press+-adjust the parameter threshold
Press Enter key to switch parameters
The fuel of the particle accelerator from the box next to the particles: any square
Then install the electromagnetic capsule in the box of the accelerator on the particle collision machine
Open
The final effect:
After starting the particle speed, the particle effect of the explosion at the particle collision after 3 turns around the vacuum cavity will be launched, and the ion (basic) can be produced (if the capsule is not installed, the vacuum cavity and electromagnet will be frying rotten..
Well, what's the use of senior and excellent electromagnets?Please wait for the next tutorial.

National Service DNF Dark Ni
2025-01-28 09:19:27
The new screenshot of the be
2025-01-28 09:18:57
The 15th anniversary wallpap
2025-01-28 09:18:27
3DM Xuanyuan Sinicization Gr
2025-01-28 09:17:57
French magazine is the first
2025-01-28 09:17:27
The sneak game "Republic" wi
2025-01-28 09:16:57
The story between humans and
2025-01-28 09:16:27
Capture "Trinity 3: Artifact
2025-01-28 09:15:27
Wind direction change "Myste
2025-01-28 09:14:57
DICE's new project "Dream" w
2025-01-28 09:14:27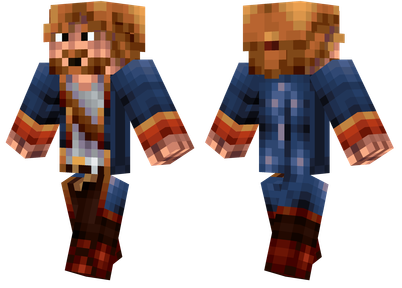
Pirate Minecraft Skins
Minecraft Skins
2024-12-10 04:11:27
Pirate Minecraft Skins
Minecraft Skins
2024-12-10 04:11:26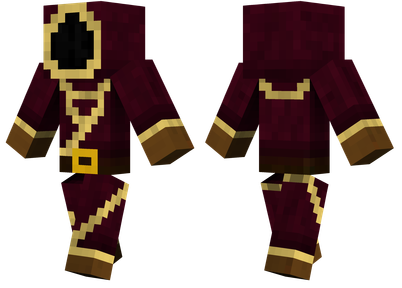
Master Minecraft Skins
Minecraft Skins
2024-12-10 04:11:25
King Minecraft Skins
Minecraft Skins
2024-12-10 04:11:25
Guide Minecraft Skins
Minecraft Skins
2024-12-10 04:11:24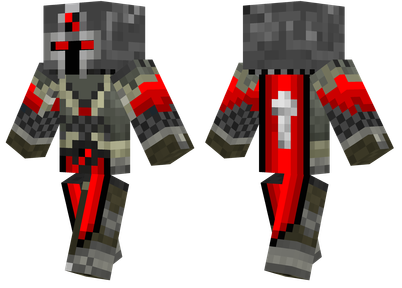
Dark Knight Minecraft Skins
Minecraft Skins
2024-12-10 04:11:23
Sparta Minecraft Skins
Minecraft Skins
2024-12-10 04:11:23
Moncraft Skins of the War
Minecraft Skins
2024-12-10 04:11:22
Red Witch Minecraft Skins
Minecraft Skins
2024-12-10 04:11:22
Golden Cavaliers Minecraft S
Minecraft Skins
2024-12-10 04:11:22